Before Launching Your Drive
Learn about
The Disease
Ethnic Focus
Joining the Registry
Donor Programs
Common Myths
Donation Process
Privacy Concerns
Call to Action Tutorials
Online
Blog
Donor Drives (Online)
Email
Facebook
iPhone Applications
Logo
Twitter
Videos
Web Badges
Website
In Person
Business Cards
Buttons
Donor Drives (Live)
Flyers
Logo
Postcards
Signs
Media
This section is under development. The following media tutorials will be online soon.
Newspapers
Online News
PSA's
TV News
TV Programs
Free Online Tools
Illustrations
• Donation Methods
• Transplant
Video
• Donation FAQ's
• Live Drive
Info in Foreign Languages
Join the Donor Program
If you are here not as a patient or adovacte but as someone who wants to join the marrow donor program to possibly be a match and save a life someday please visit:
where you can order a home test kit online or join in person by locating a live drive using their Zip Code locater.

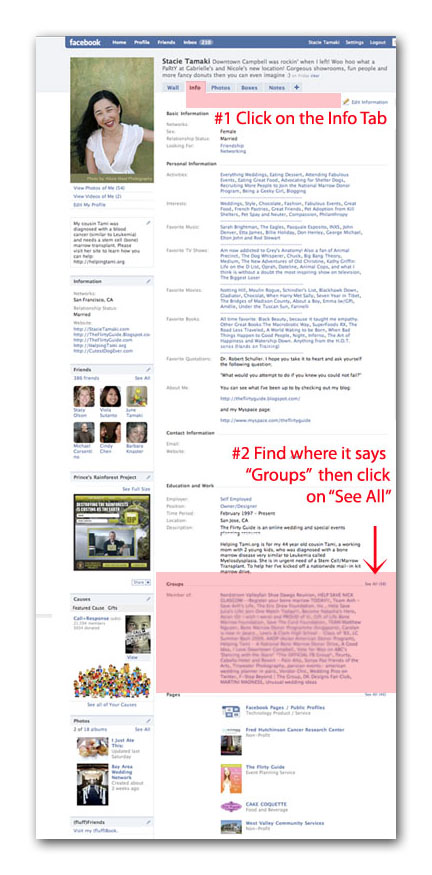
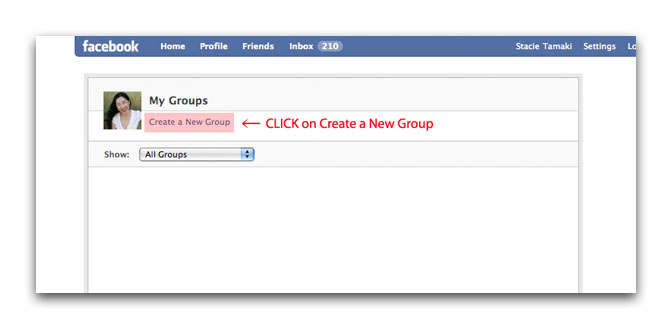
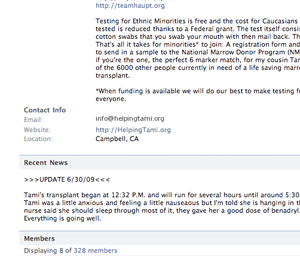
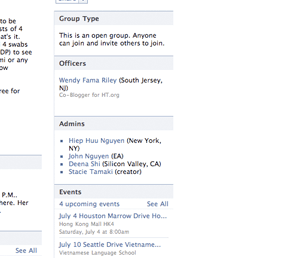
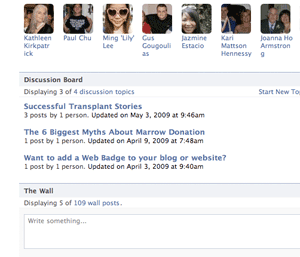
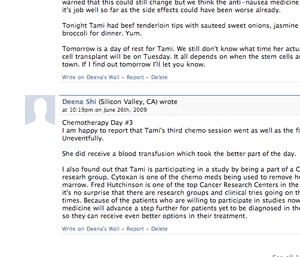
Facebook is a social networking (information sharing) website that allows people to create a free account and post messages, links to websites, an event calendar, photos and videos. You can also send group messags to all of your members for major news and updates. To Publicize your Facebook group you can purchase a custom url (domain name) If I hadn't created a website for Tami I could have used the url I purchased for her: http://HelpingTami.org and forwarded it to the Facebook group so that whenever I wanted to publicize her web presence I could do so with the shorter, better, name. Here's how you create a Group on Facebook:
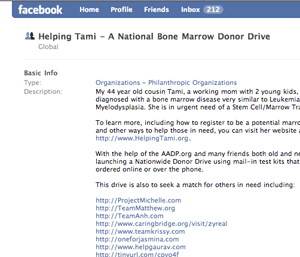
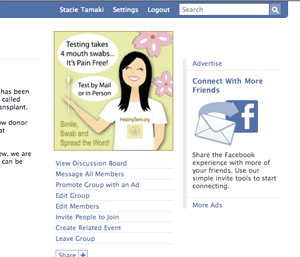
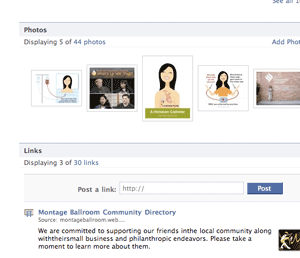
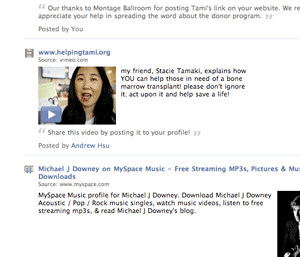
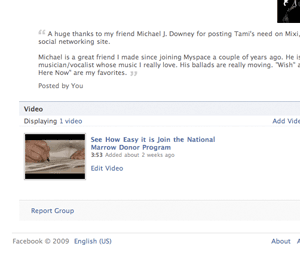
First you need to create a Personal Profile Page (above) then you can create an additional "Group Page." Below is what a Facebook Group Page looks like:
|
Top of Page
All contents Copyright © 2009 - 2011 MarrowDrives.org. All rights reserved. All contents can be copied and re-posted for any and all not-for-profit purposes. Link backs are appreciated but not required. Disclaimer: The information and suggestions on this site are just that and should not be interpreted as medical or legal advice. Please consult a physician or practicing attorney for any formal advice regarding these issues. Information on any third party links located on this website are only verified by the original source. |


